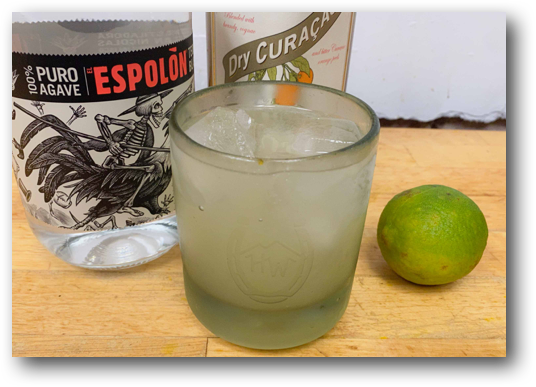
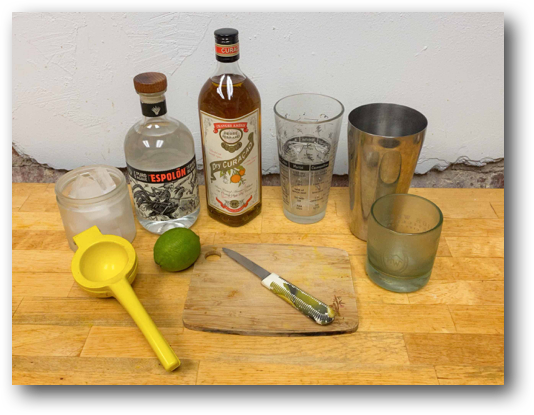
Was speaking with Tom, one of the good people running our local Hickory, NC, ABC store and a big Margarita fan, about the need to use quality ingredients to make a Margarita cocktail the full-on flavorful way it was meant to be made. Though no one agrees on that exact origin of this wildly popular cocktail, the “original” Margarita recipe calls for only the following 3 ingredients/ratios (minus the salt on the glass rim that I never use): 1 part lime juice, 1 part orange liqueur and 2 parts tequila.
Considering that tequila makes up half the drink and is, therefore, the Margarita flavor driver, I strongly agree with the dead-on accurate advice I’ve gotten from my good friend and well-trusted Julio’s Liquors owner, Ryan Maloney, and his staff, as well as what I’ve read in print and on-line that the best tequila to use to make a Margarita is 100% pure agave blanco (white) tequila, like the one shown in the photo above. As an alternative, and to make a less dry (sweeter) drink, you can use reposado tequila, which gets its name from “resting” (that’s what “reposado” means)in oak barrels for 2-24 months.
Once you’ve decided to use good tequila, I certainly recommend not ruining it with low grade orange liqueur, like run-of-the-mill triple sec. Instead, use a higher grade orange liqueur, which, yes, is more expensive but is well worth the price if you want a crisp, clean, explosively flavored Margarita. My go-to orange liqueur, which was recommended by my same Julio friends, is Pierre Ferrand Orange Curaçao, which has a flavor very much like Grand Marnier but is not as syrupy sweet.
Finally, there’s no substitute for fresh lime juice even if you don’t have a citrus juicer and have to squeeze the lime by hand.
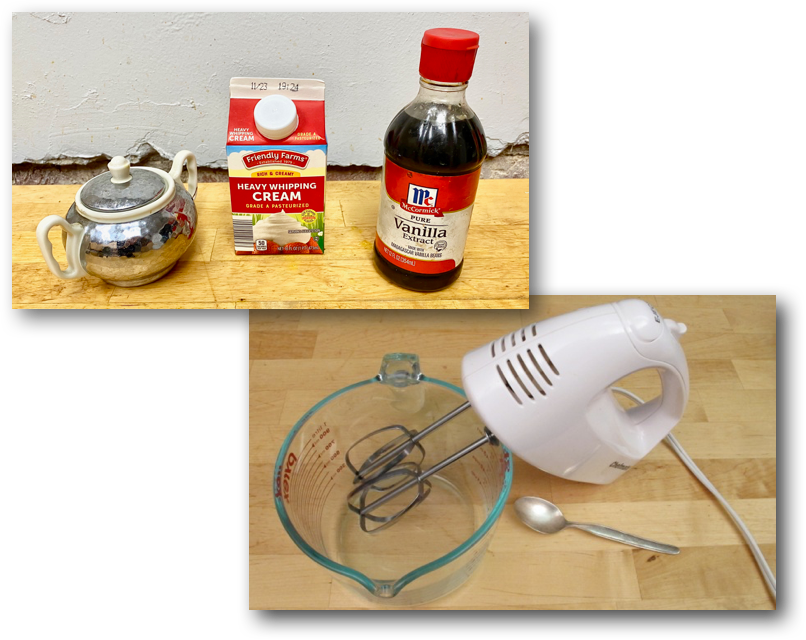
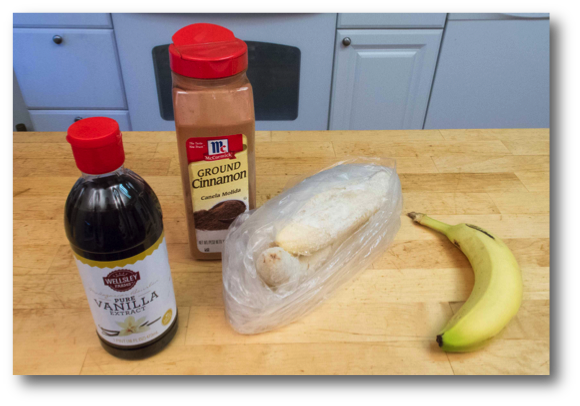
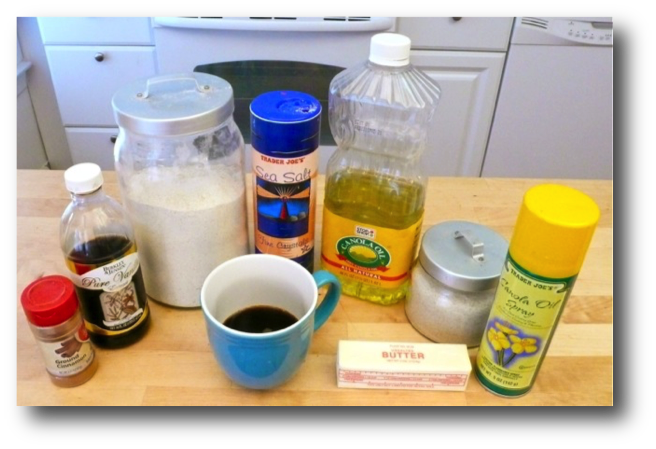
Here’s what I use to make a fresh Margarita:
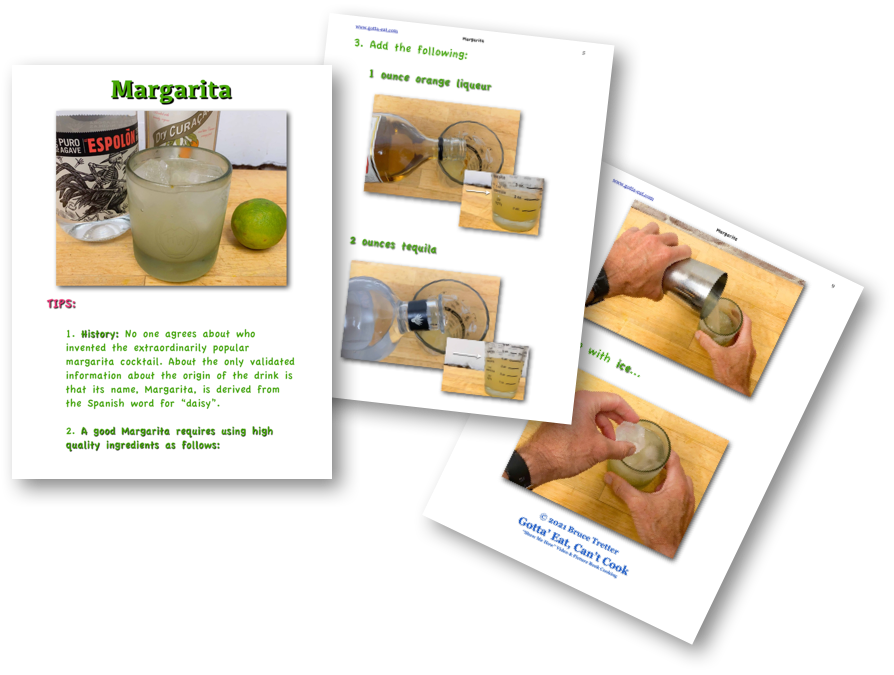
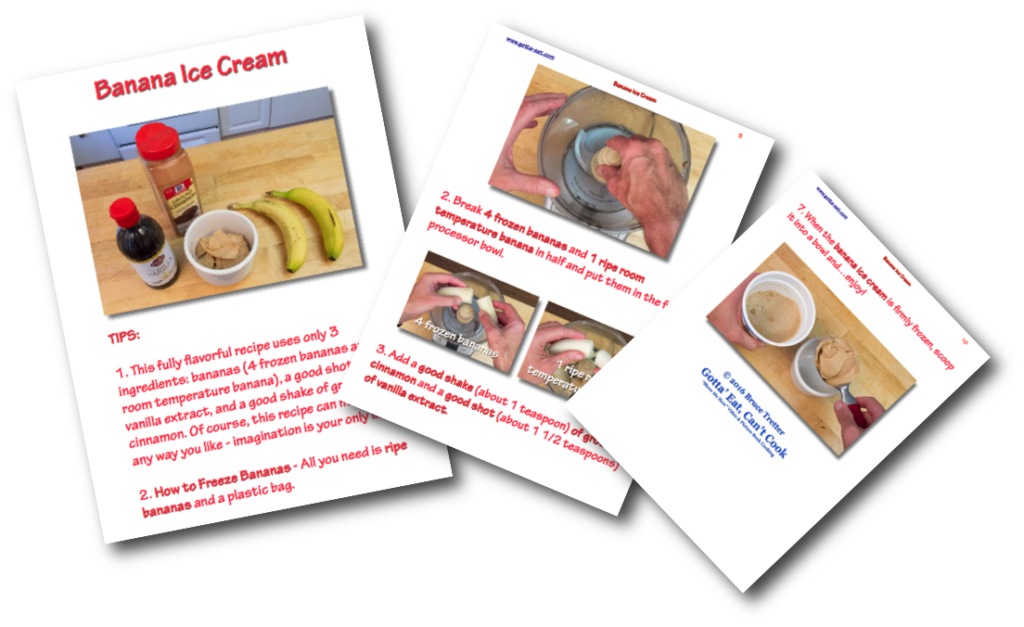
Click this link or any picture on this page for a complete fresh Margarita picture book recipe – and enjoy! (Tom, I appreciate the fun talk the other day!)

 November 18th, 2021

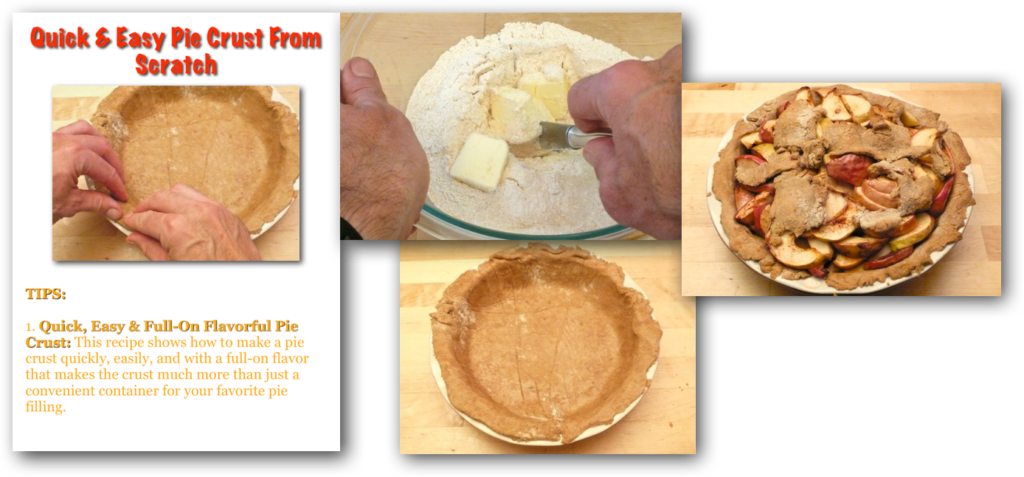
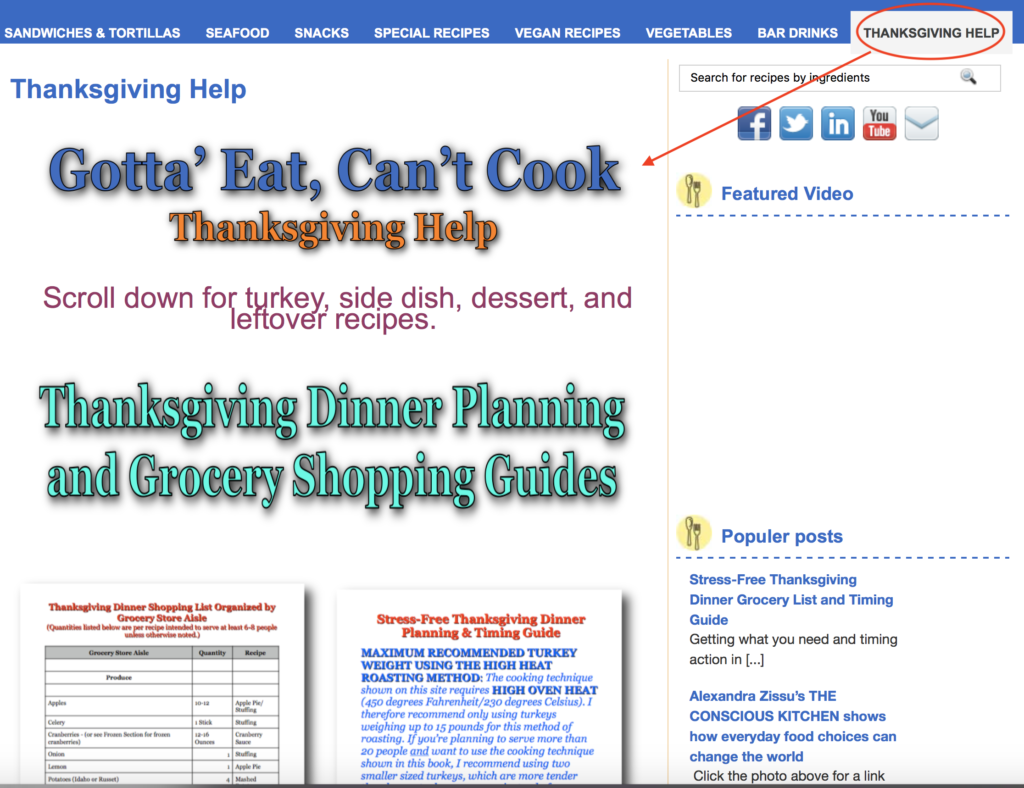
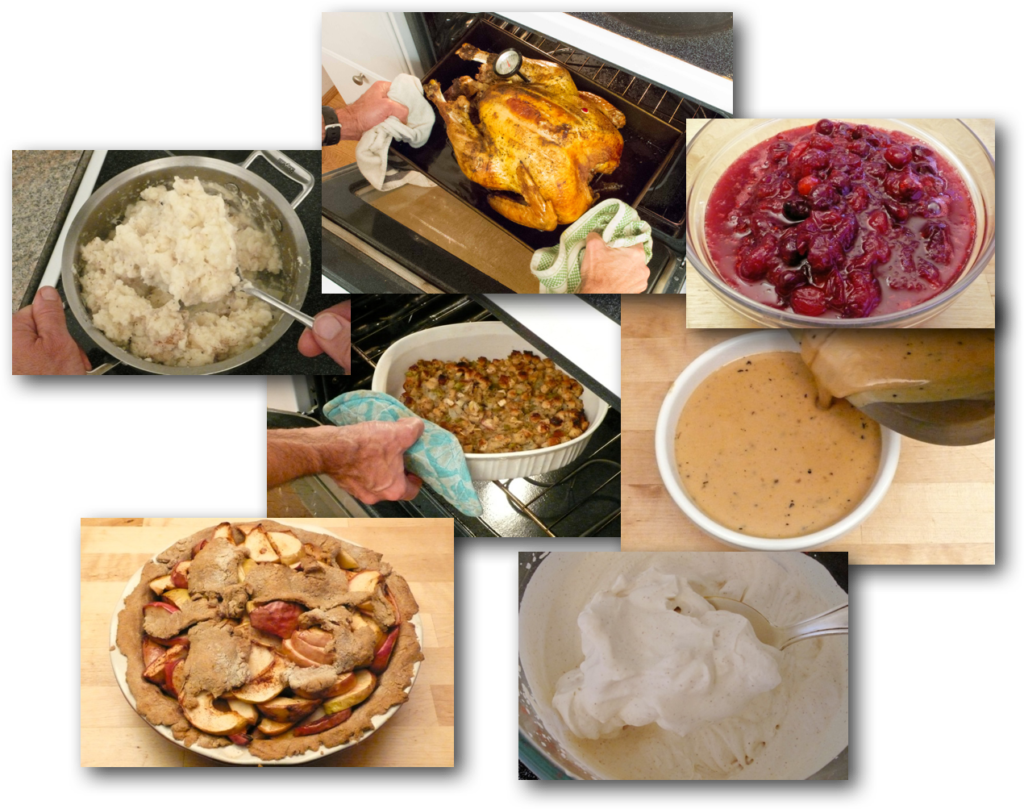
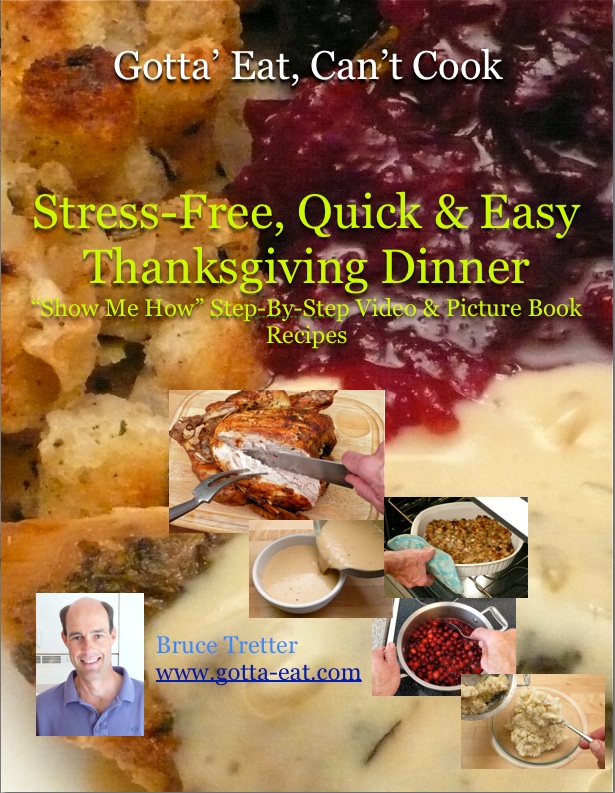
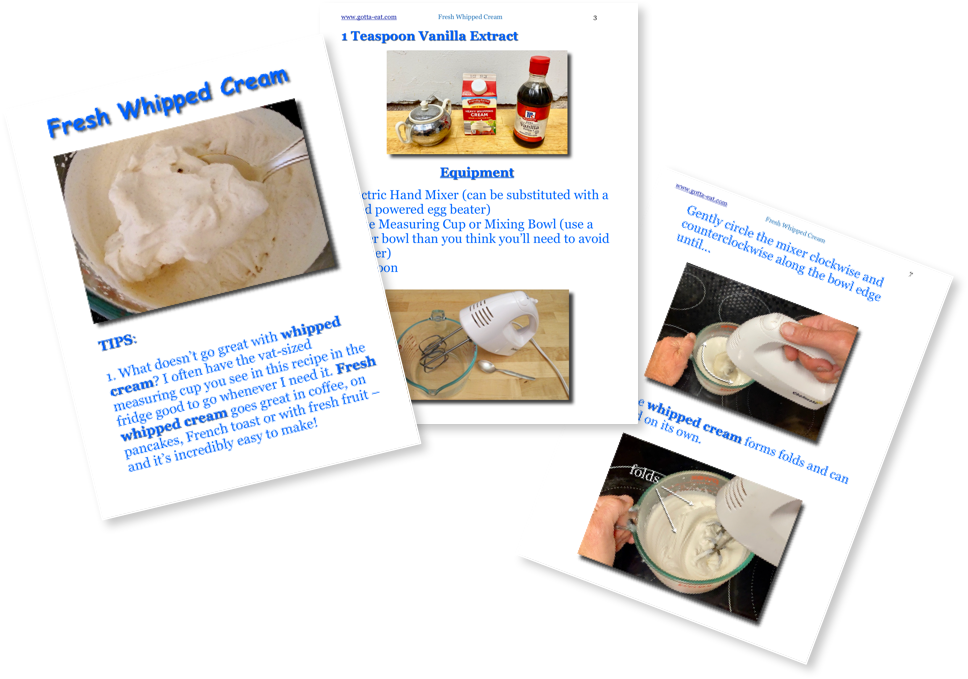
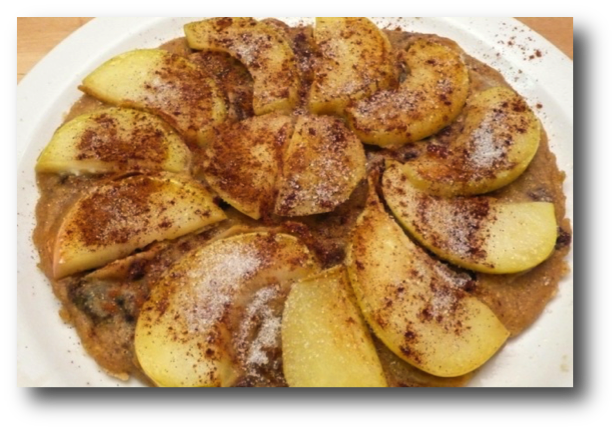
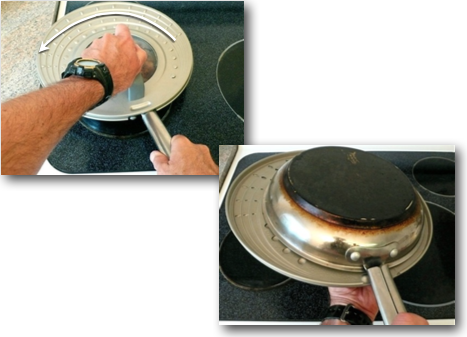
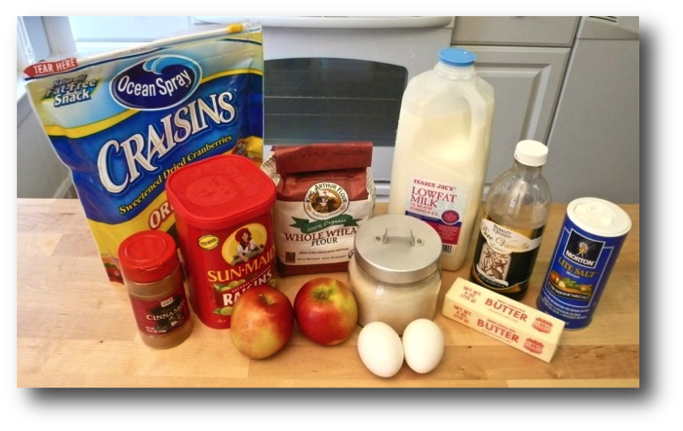
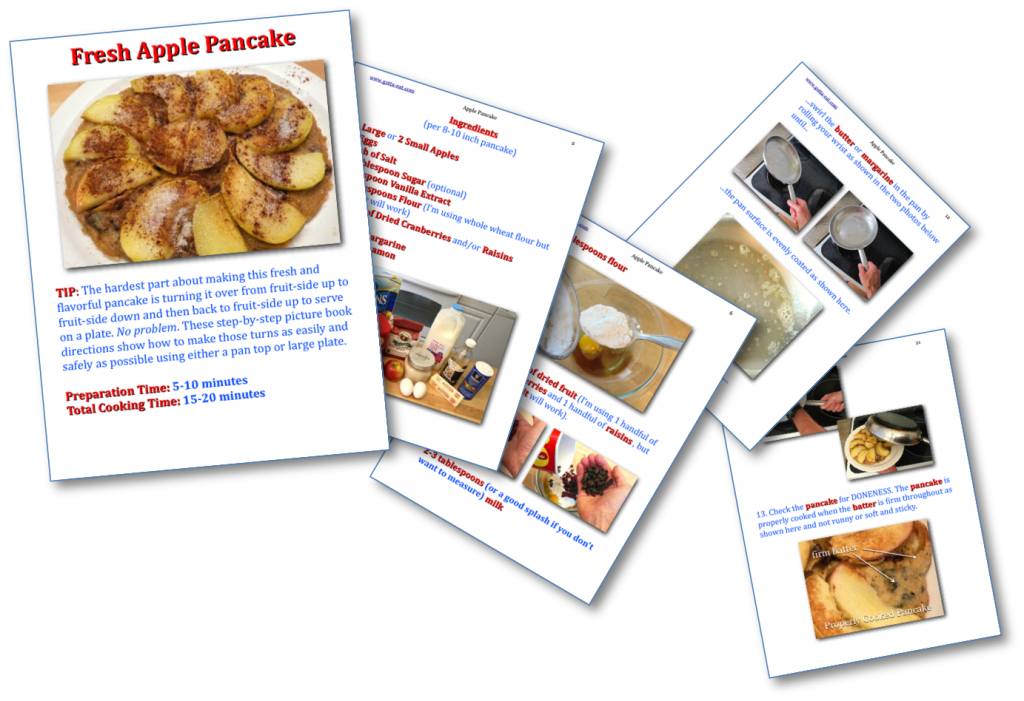
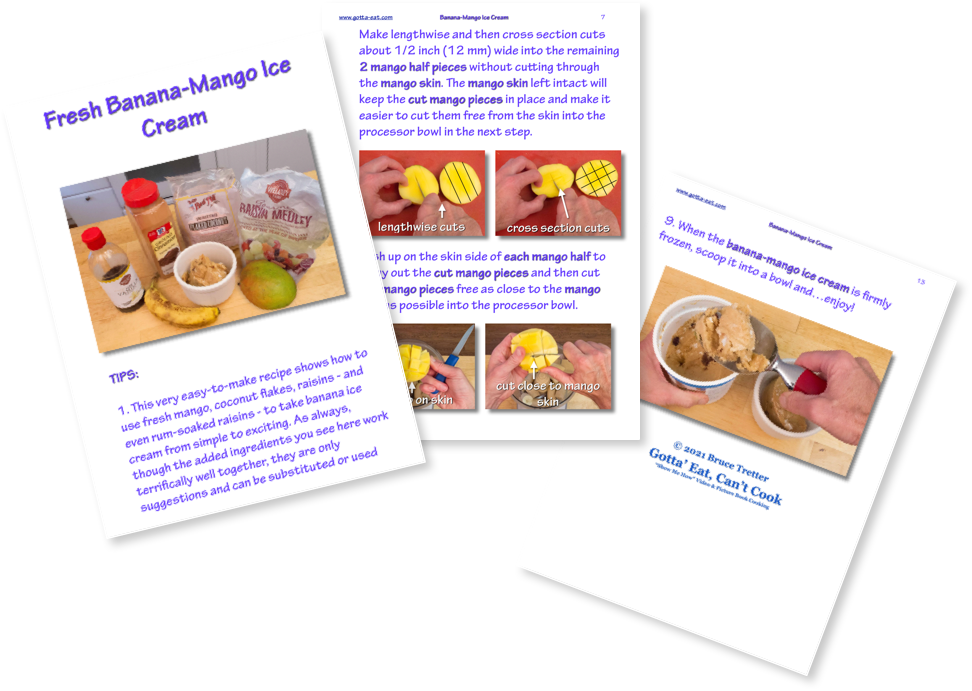
 Click this link or any picture above for a complete step-by-step picture book recipe. you can also click this link or the picture below for a link to the Gotta’ Eat, Can’t Cook “Thanksgiving Help” page with easy to follow helpful step-by-step picture book Thanksgiving dinner planning and cooking tips.