Gotta’ Eat: Big on pictures. Short on words.
Choose a path below and begin.
Recipes by categories
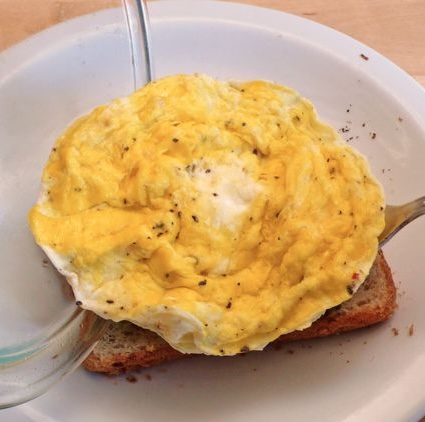
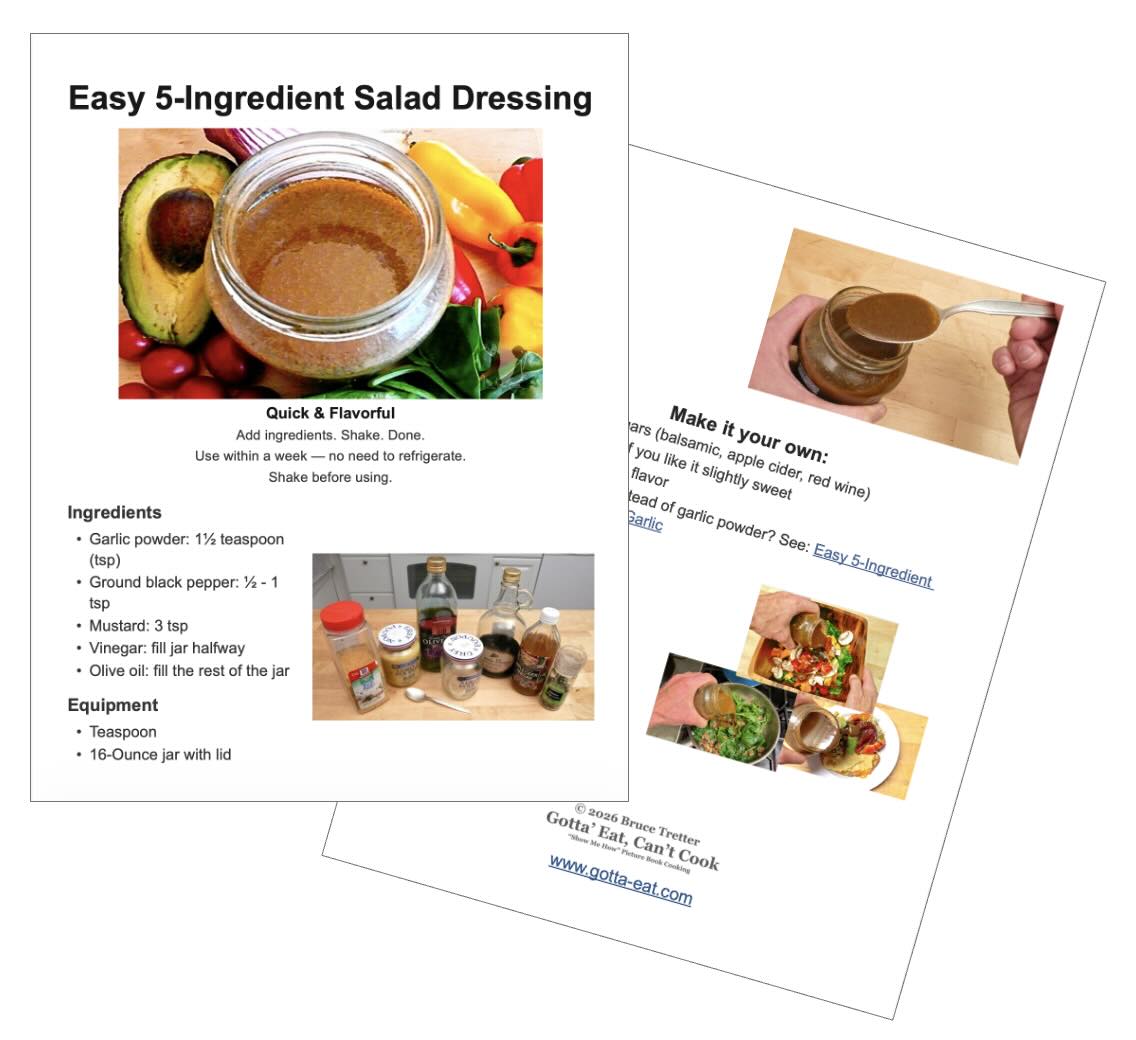
Sample easy to get started recipes

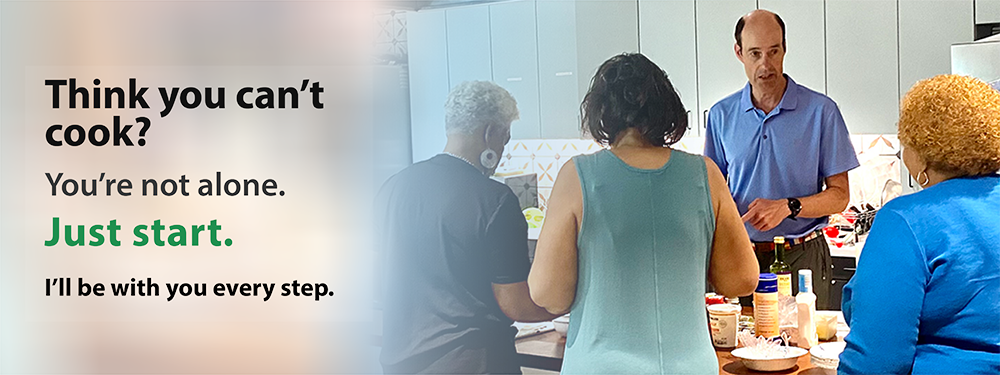
Think cooking isn’t for you?
I started exactly where you are.
Just begin.
Real food. Real help. Real easy.
Gotta’ Eat: Big on pictures. Short on words.
Choose a path below and begin.
Recipes by categories
Sample easy to get started recipes
Think cooking isn’t for you?
I started exactly where you are.
Just begin.
Real food. Real help. Real easy.