Archive for the ‘How To & Tips’ Category

3 Ingredients That Make You YOU: Food, Body, Mind

You’ve heard it many times, “You are what you eat”. That’s only 1/3 true.

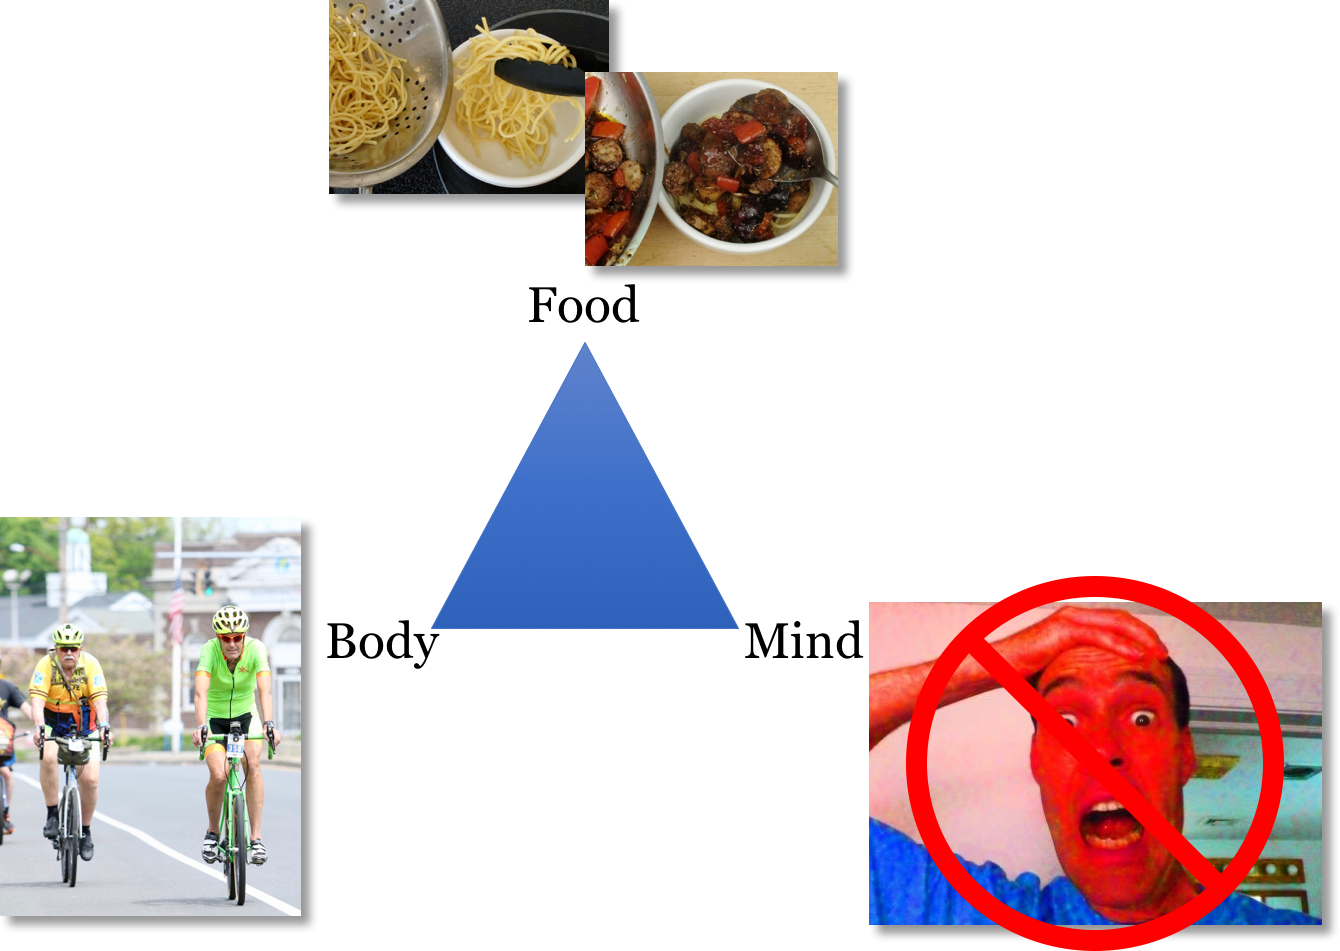
Sure, what you eat – plus what you drink and breathe – are the building blocks of every cell in your body. But you are just as much the product of how you move your body and use your mind – and regarding the mind, how you manage stress. As shown in the diagram below, YOU = Food + Body + Mind.

That simple 3 part equation has held true since man evolved as a distinctly separate species from primates four (or so) million years ago. And, despite our transition from millions of years as nomadic hunter gatherers to predominantly agriculturally-based community members only ten thousand years ago, our bodies, and what our bodies need to survive and thrive, have not changed. We still have the same bodies that were built through evolution to survive on foods close to the earth and that still need the same level of daily physical activity and stress management to function properly that we had to rely on to hunt and gather everyday.

That’s just how it is.

And that’s exactly what prompted me to learn for myself, put to practice and then promote how we can best take sensible, life-promoting measures, one step at a time, to help us (me included) make the most of our food, body and mind equation – and do it without making ourselves crazy.

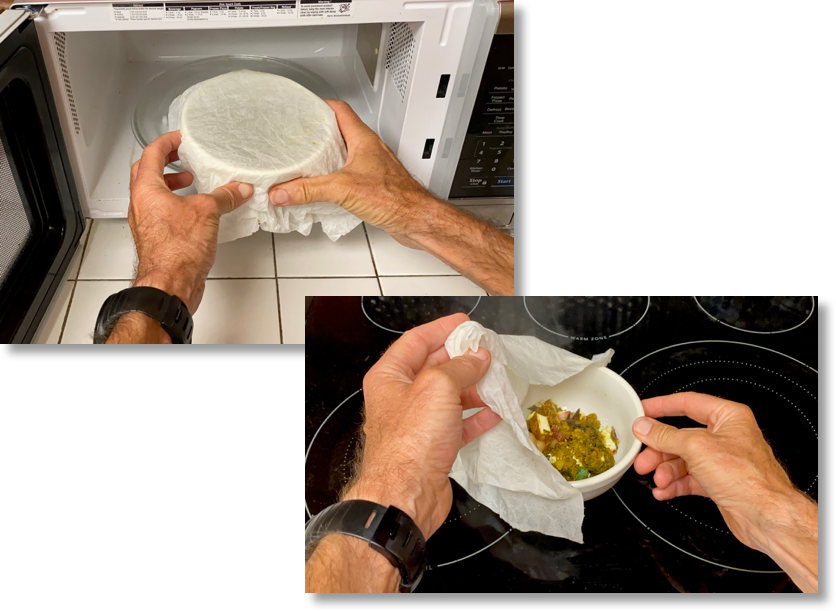
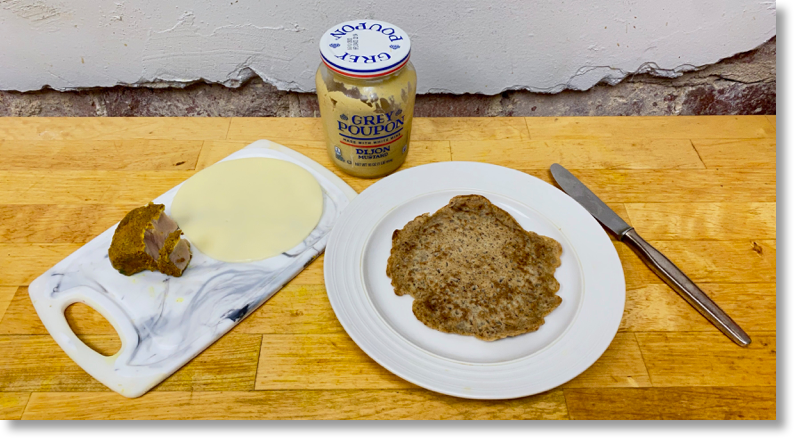
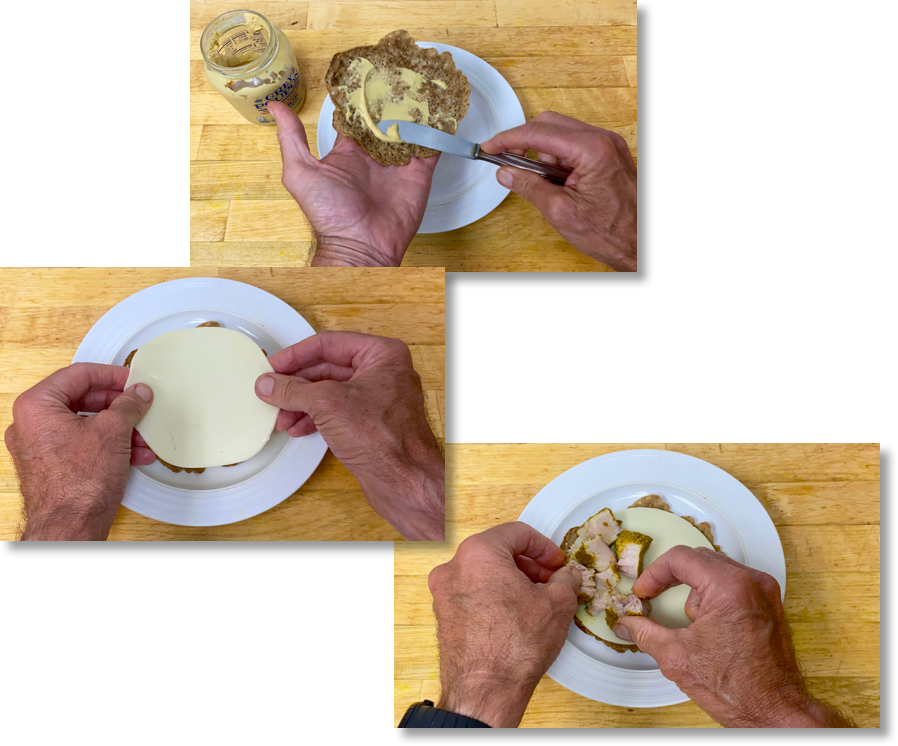
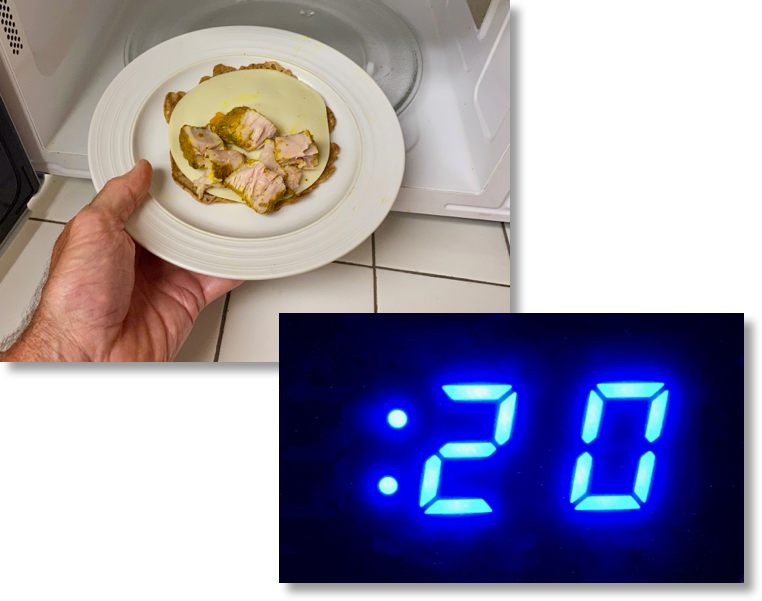
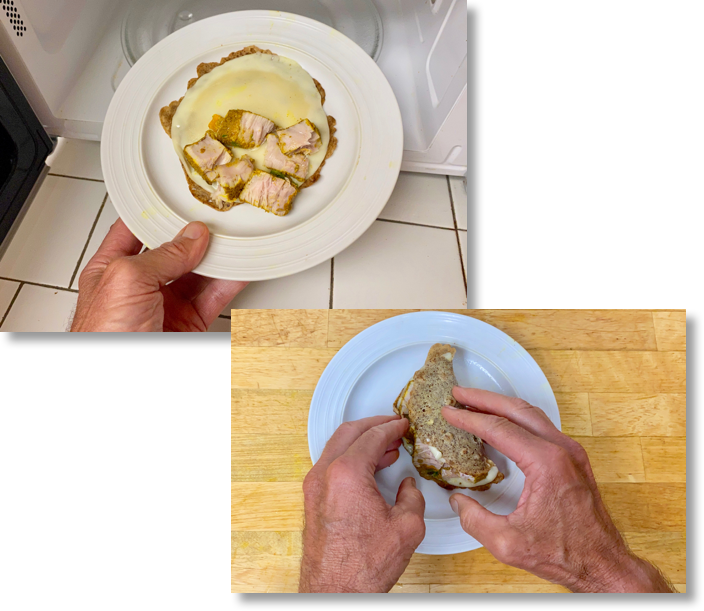
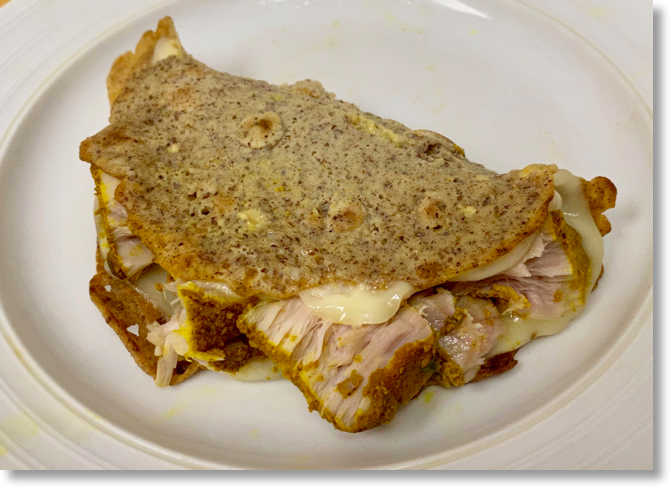
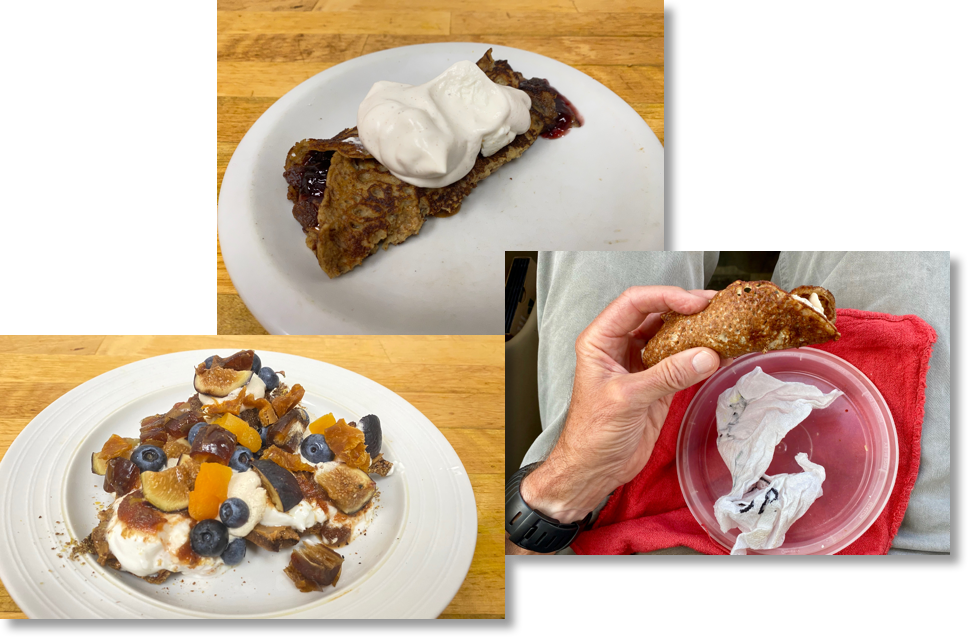
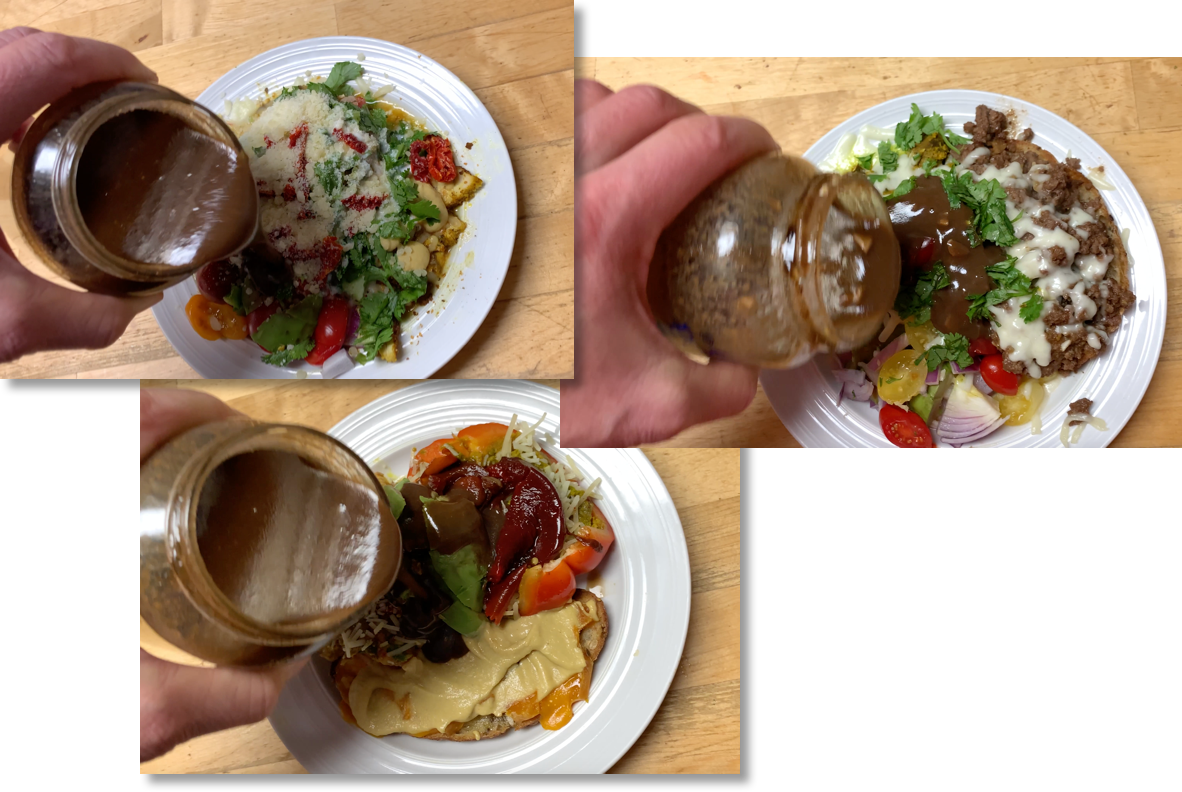
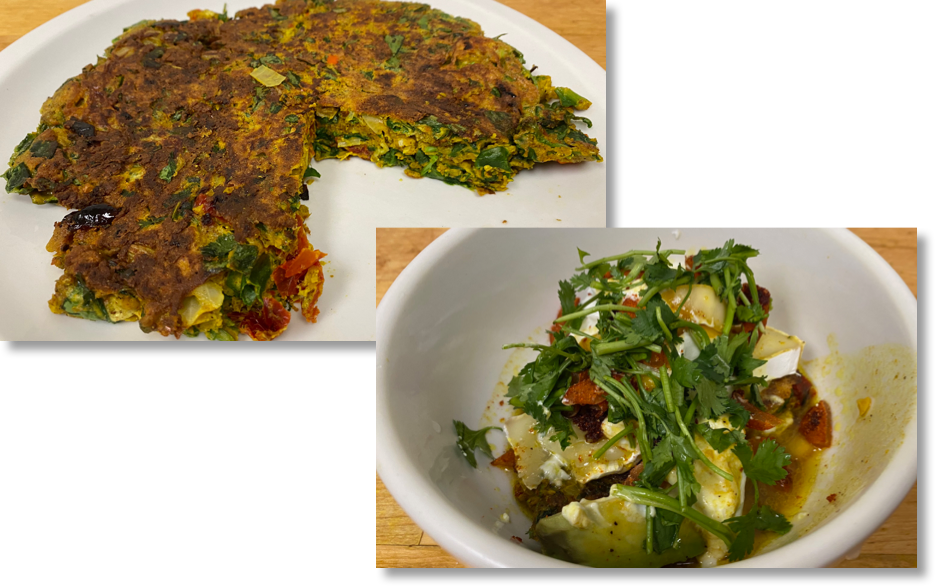
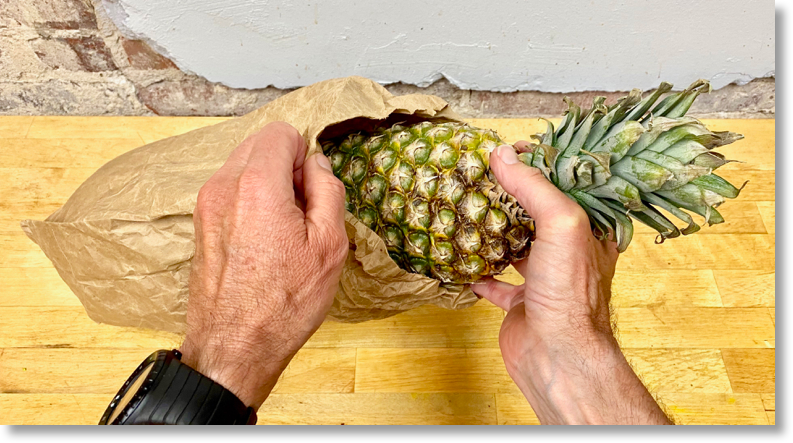
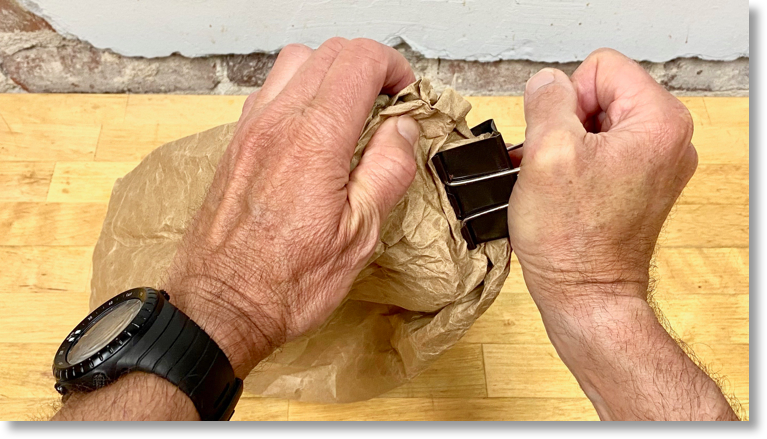
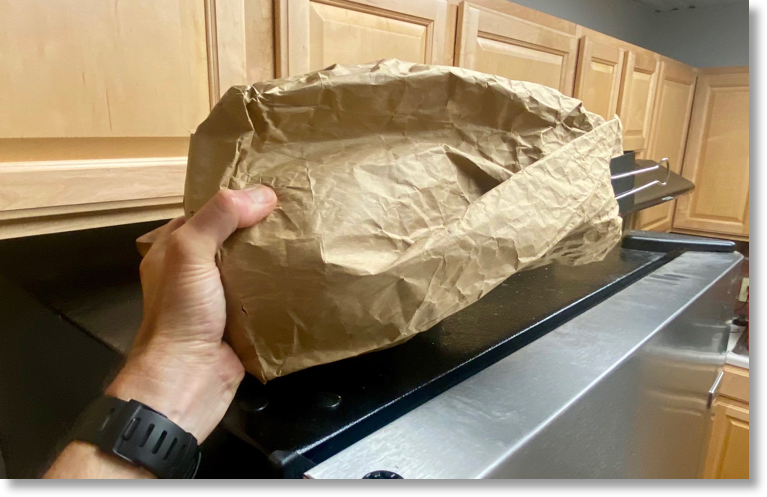
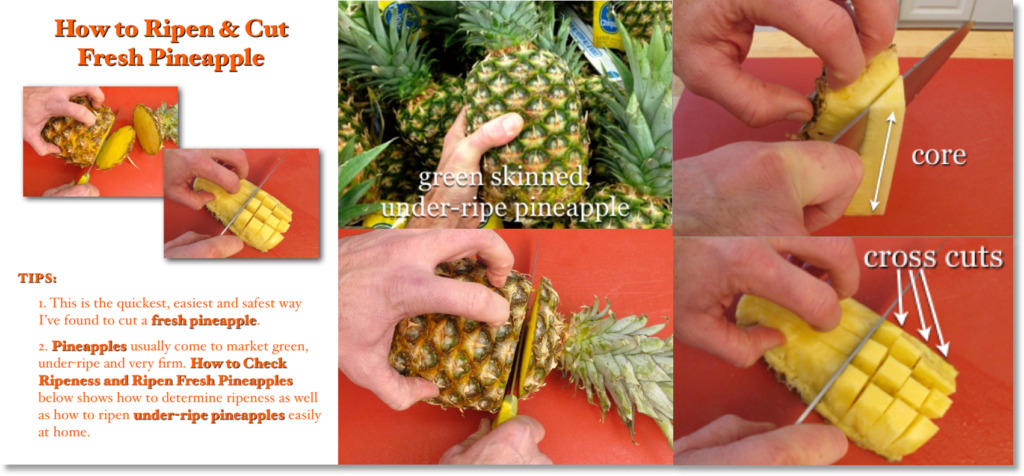
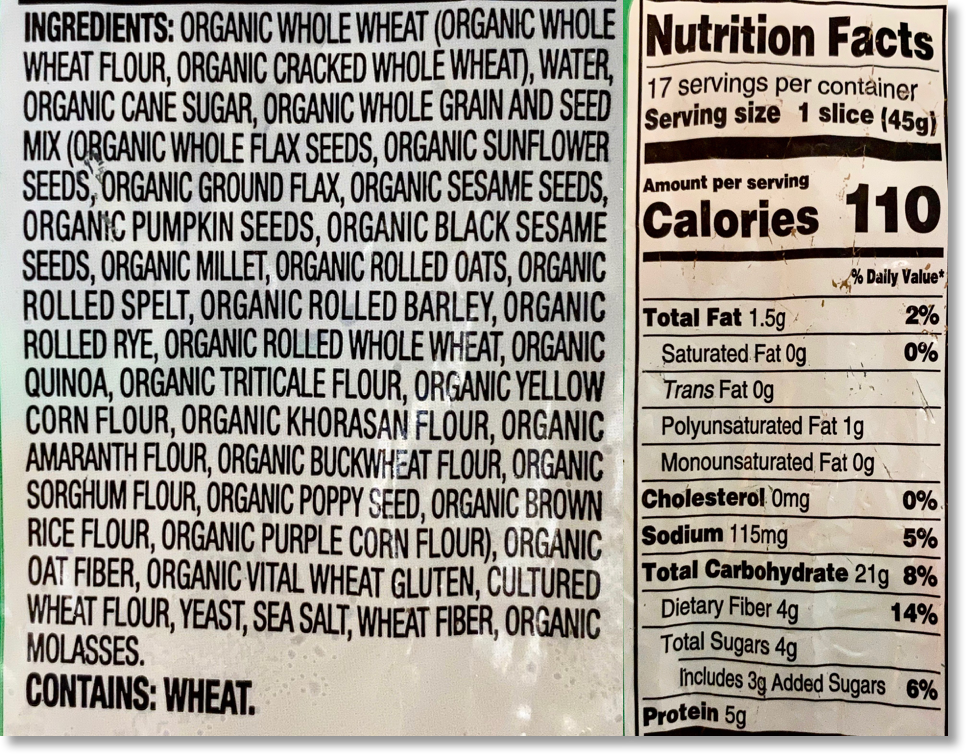
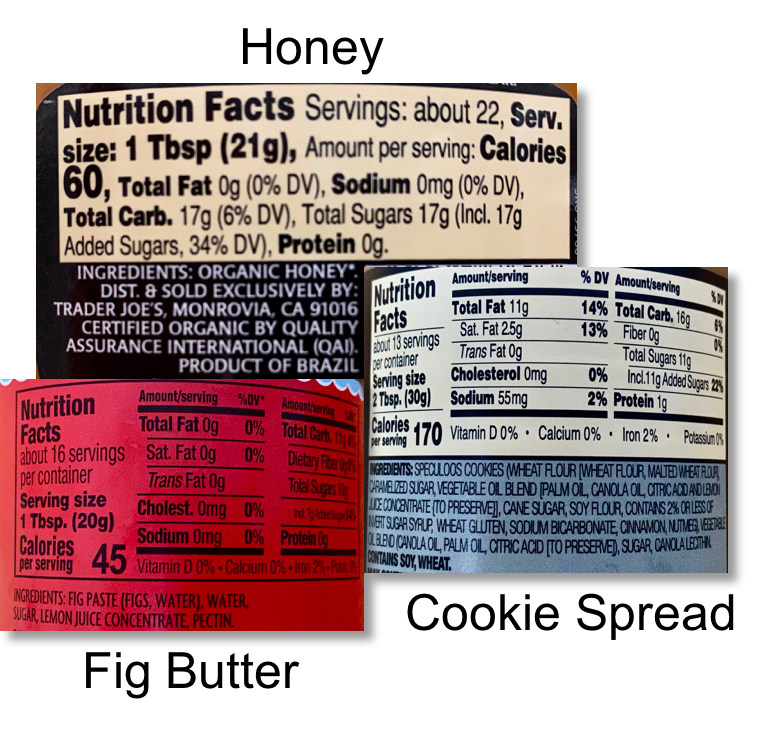
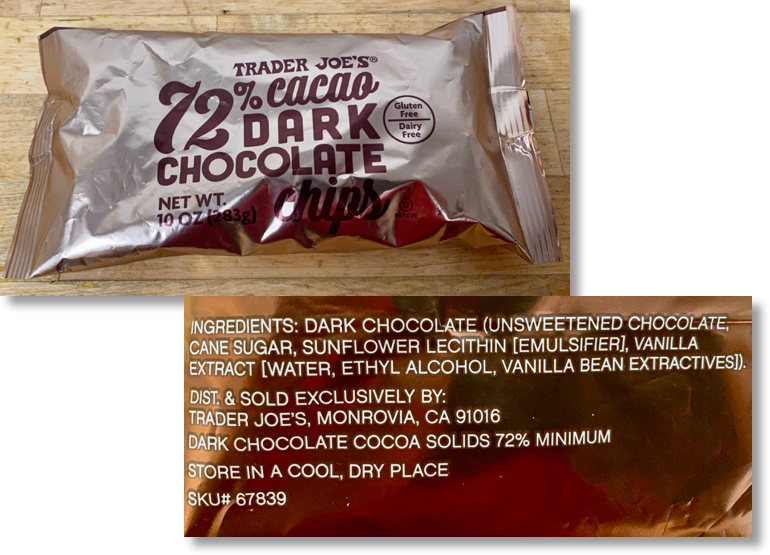
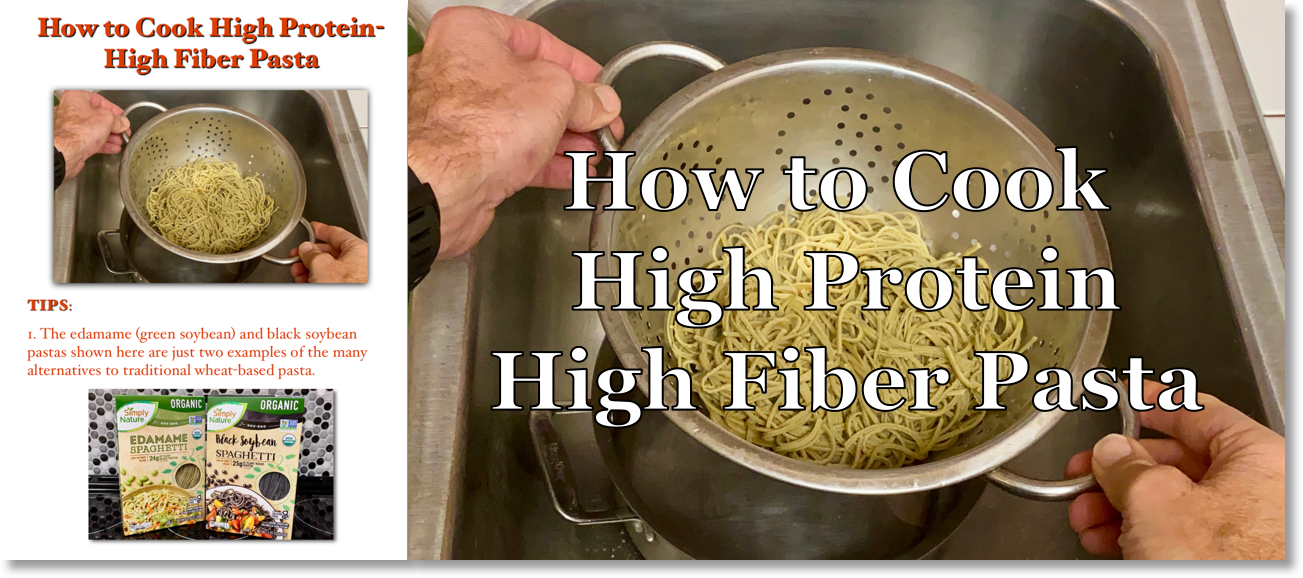
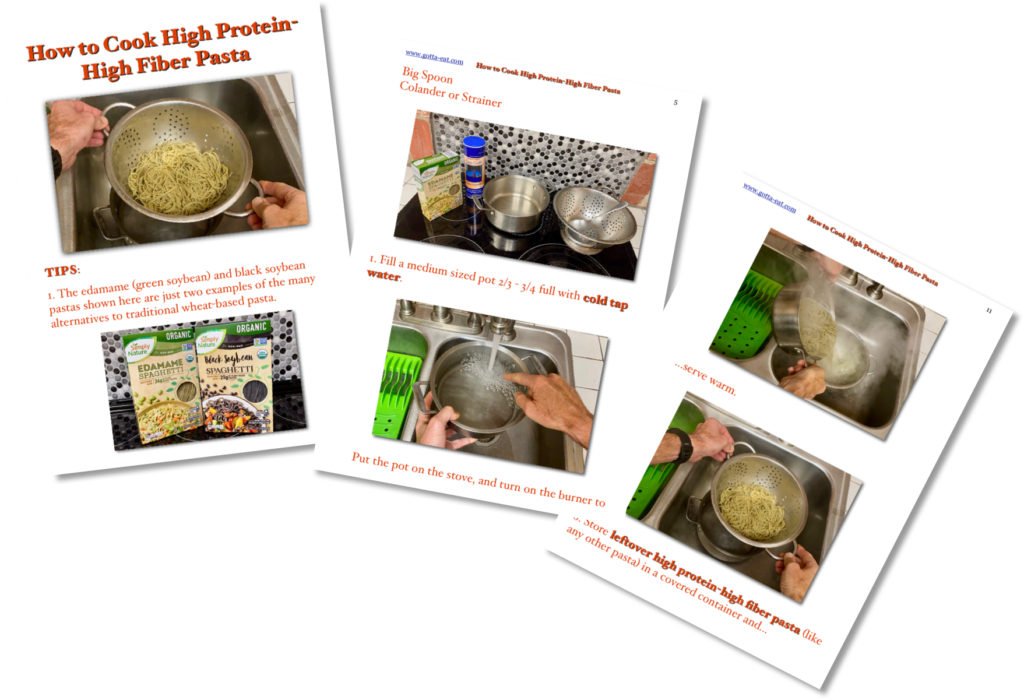
To help provide you with the kitchen skills needed to empower you to make life-promoting foods, I’ll continue putting out fully flavorful picture book recipes to make food preparation as easy as possible no matter how little cooking experience you have.

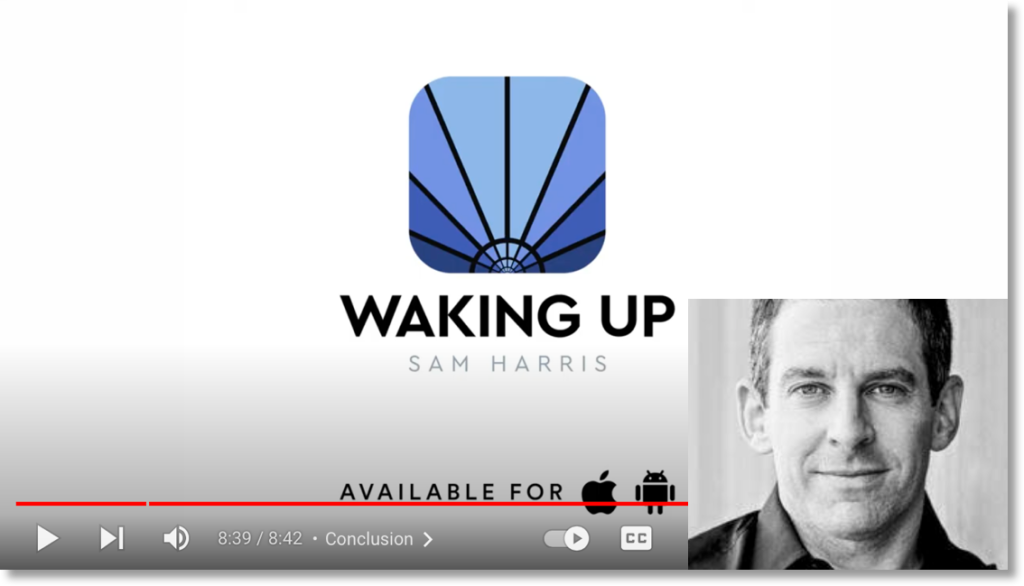
At the same time, I’ll mix it up with pieces about physical activity and mental/spiritual well being, like, for example the mindfulness/consciousness “Waking Up” practice I’ve been doing daily for over 2 years. Though I’m not pushing any particular program, you get an idea about what I do by checking out the 9-minute video you can see by clicking the image below.

Please contact me directly if you have any questions about any of the above: bruce@gotta-eat.com.

All the best always!

How to Prevent Splatter Safely When Cooking with a Microwave Oven

As I wrote in February this year, microwave ovens, used as they are designed, are perfectly safe for warming and cooking foods.

But then there’s the issue of how control microwave cooking splatter that is always pure misery to clean. Using any of what you see directly below made of plastic (unless that plastic is clearly certified as “microwave safe”), wax or metal is out.

Plastics from plastic wrap, plastic bags and plastic containers leach what they’re made of, petrochemicals (chemicals made from oil), when heated. The wax from wax paper can melt into microwave cooked foods. Metals, like aluminum foil, reflect microwave energy and, in doing so, will destroy the microwave oven’s energy emitting magnetron – sometimes with spectacular fire. As a good friend would say, “That is NOT good”!

The best solution I’ve found to prevent microwave splatter safely is to cover whatever you’re cooking with a wetted paper towel. Why wet? Because a dry paper towel can slide off a microwave safe plate or bowl, especially if your microwave oven, like the one you see below, has a spinning turntable.

Here’s all you have to do to use this method. Wet and squeeze dry a piece of paper towel.

Cover the bowl or plate with the wetted paper towel the same way you would if you were using plastic wrap, and…

…remove the paper towel after cooking. Easy, safe – and big time splatter avoidance.

Tuna and Provolone Cheese Crepe Picture Book Directions

Ham, Cheese & Mustard Road Crepe

Last post showed how to make fully flavorful Fresh Crepes with Nut Butter, Jam, Yogurt & Whipped Cream all very easily. Like I mentioned this summer in Killer Versatile Active Life Power Food: Fresh Crepes with Picture Book Recipe, crepes are incredibly versatile – way more versatile than regular syrup-sucking flapjack pancakes.

And crepes make for great “on-the-fly” food. I made a stack of crepes before taking off across the country this summer. On that trip, I loved keeping my foot on the gas to take in all I could about our wonderfully vibrant country. Those crepes worked great for making lunches that I enjoyed rolling on the road, like the ham, cheese and mustard crepe shown above.

I made that crepe no-kidding while gassing up the car and, therefore, didn’t take pictures. When I got home, though, I shot this easy to make Tuna and Provolone Cheese Crepe that you can make either as shown below or by substituting the tuna and provolone cheese with any meat, vegetable and cheese you like. Imagination and flavor rule!

Here’s what I used to put together this Tuna and Provolone Cheese Crepe: leftover pan cooked tuna, provolone cheese, mustard and crepe.

Tuna and Provolone Cheese Crepe Ingredients

I started by spreading mustard on the crepe, laying on a slice of provolone cheese and hand-pulling apart pieces of leftover cooked tuna on half the crepe.

Spreading mustard on a crepe and topping with provolone cheese & cooked tuna

Warm the topped crepe in the microwave oven for 20 seconds.

Warm the crepe in the microwave oven for 20 seconds

Take the warmed crepe out of the microwave oven and fold the cheese only covered half over the tuna covered side and…

Fold the warmed crepe one half over the other half

…enjoy!

Fresh Crepes with Nut Butter, Jam, Yogurt & Whipped Cream

Last post – I know, quite a while ago – showed how to make fresh crepes, which are just as easy to make as flapjack pancakes but are way more versatile, as shown with just a few examples above.

Whether you use your own crepes or pre-made store bought crepes, the top middle version, filled with nut butter and jam and topped with yogurt and whipped cream is very easy to make, killer flavorful and great power fuel for any kind of strenuous activity because of its combination of simple “get up and go!” sugars from the jam and cookie spread (optional), complex carbs from the flour in the crepe, protein from the egg in the crepe, Greek yogurt and nut butter, and fats from nut butter, yogurt (if you use whole milk yogurt) and whipped cream.

Here’s what I use to put together a crepe like this: homemade crepe (which can be substituted with a prepared, store bought crepe), then from left to right: whole milk Greek yogurt, almond butter, cookie spread (optional – I love both added flavor and light crunch!), jam, raisins and whipped cream.

Crepe with nut butter, jam, yogurt and whipped cream ingredients

Start by spreading nut butter, cookie spread (optional) and jam down the middle of the crepe.

Spreading nut butter, cookie spread and jam down the middle of a crepe

I fold over one of the crepe thirds and add a dab of nut butter to the middle of that third and then fold over the opposing third, as shown below, to keep the crepe folded in place when I warm it in the microwave oven.

Using nut butter to keep the folded crepe thirds together when warmed in the microwave oven

Warm the filled crepe in the microwave oven for 20 seconds.

Warming the filled crepe for 20 seconds in the microwave oven

Finish buy topping the warmed crepe with yogurt and whipped cream.

Finishing with a good shot of yogurt and whipped cream

This crepe just by itself is great. Here’s how I have it before a good crunch on the bike that keeps me satisfied completely with no need to refuel on the fly for distances of 30-50+ miles with plenty of North Carolina hills along the way.

Pre-ride crepe with nut butter, cookie spread, jam, yogurt and whipped cream

How to Use Easy-To-Make 5-Ingredient Fresh Salad Dressings Examples

Two recent posts showed how to make an Instant 5-Ingredient Salad Dressing and a Fresh 5-Ingredient Salad Dressing. The only difference between the two: the instant dressing uses garlic powder to avoid any cutting or chopping; the fresh dressing just substitutes garlic powder with fresh garlic – and shows how to chop that garlic as easily as possible with picture book directions.

Regarding how to use the dressing, of course, either dressing goes great on any savory or sweet and savory salad, like the ones shown below – with picture book recipe links: Peach, Avocado & Baby Pepper Salad (top middle), Fresh Spinach and Berry Salad (bottom right), and Heirloom Tomato with Fresh Basil and Feta Cheese Salad (bottom left).

But, then here are just a few examples of how I used either dressing with dishes I’ve put together on the fly like: Pan Fried Chicken, Tomatoes and Parmesan Cheese (top left), Beans and Cheese with Fresh Tomato Onion Salad (top right), and Open Face Grilled Cheese and Tomato Pepper Salad (bottom middle).

Bottom line: your imagination is your only limit to how you use either dressing – or any dressing. For another example, here’s something I just had: Spinach and Ricotta Cheese Pancake topped with tomatoes, avocado, cilantro and fresh salad dressing. Yes, all easy and fun to put together – more about that pancake pretty soon – and all always with a keen eye on full-on flavor!

How to Speed Up Pineapple Ripening

At the end of the last post I promised I’d show how to improvise on very easy-to-make pineapple, yogurt & jam. That plan sounded fine until I realized that the pineapple I was going to use to make and shoot those directions wasn’t yet ripe even after I’d had it on top of my fridge for about a week, as shown below

No problem. Just another opportunity to improvise in a different manner. Though I’ve not done this with a pineapple before, I figured I could probably speed up the ripening process by doing what I do with other fruits and avocados that sometimes take days or longer to ripen out in the open.

Last night I put the pineapple in a paper bag (can’t use a plastic bag for this because plastic doesn’t allow for needed air exchange that makes ripening work; paper does),…

…then clipped the bag closed (because it would’t stay closed just by folding the bag top), and…

…put the bagged pineapple on top of the fridge, which I’ll now keep an eye on to see how quickly the pineapple ripens.

More soon!

How to Ripen and Cut Fresh Pineapple Picture Book Directions


The sweet, tropical flavor and soft crunch and pop texture of fresh pineapple is just as fully satisfying on its own as it is mixed with other flavors. More about that later.

First, the picture book directions you can get by clicking this link or any picture on this page…

…show how to ripen a pineapple (that almost always comes to market underripe),…

…how to make a ripened pineapple take up less space in your refrigerator and…

…how to cut a pineapple as easy as possible.

Next blog: some easy-to-make pineapple recipes. All fun and full-on flavorful!

More Specific Banana Nut Butter Bar Ingredient Details

Timing can be great!

Last post earlier this week discussed what’s really in an ingredient and what that means to you, especially if you have dietary restrictions. Then, entirely coincidentally, this week I got a text from a good cycling bud asking whether to use sweetened or unsweetened coconut flakes and what type of chocolate chips to use to make Banana Nut Butter Power Bars. He couched his question with a note that his skills are pretty much limited to toasting Pop Tarts. Excellent on all fronts!

I loved the question! Right away, I tore down the old recipe to revise it with this more descriptive list of ingredients and…

…these new directions that you can get by clicking this link or any picture on this page.

Always glad to make changes – that’s “learning and adapting” life in action. And what I like best is hearing what works and doesn’t work for people actually using any recipe I put on this site so that I can help make your work – and mine – in the kitchen as easily fully flavorful as possible. That’s life enriched!

What’s Really In a Recipe Ingredient?

What really is in an ingredient needed to put together a recipe?

That question – and the idea of fairness – popped in my head while I was laying out the last post that compared the ingredients of a random sample of store bought packaged power bars…

…with a homemade power bar sandwich made with the ingredients shown here.

As shown above, the packaged bars all have their ingredients listed by quantity in order of the most used to least used ingredient.

I listed the ingredients used to make the power bar sandwich in the same way: whole grain bread; choice of honey, jam or cookie spread; nut butter; fresh fruit; raisins; and chocolate chips.

But my list doesn’t say it all. Sure, bananas are bananas, blueberries are blueberries and raisins are raisins. And, the nut butter I use I make myself with just lightly salted and unsalted almonds and ground flaxseed, as shown here.

Almond butter ingredients

But the rest of the ingredients are much more complex, meaning that they themselves are made with a lot of ingredients. Here’s what’s in the whole grain bread I used to make the power bar sandwich:

Though I’m not a big fan of the added sugar, the rest of the ingredients look fine to me – and I’m sure not going to start off making the power bar sandwich by first baking the bread needed to make that sandwich.

Then there’s the choice of honey, jam and/or cookie spread. As shown below, the honey is just honey. The jam is made with fig paste, sugar, water and lemon juice. Simple enough.

But then there’s the cookie spread, which tastes great but is also made with many more ingredients than the honey and jam, including a good shot of added sugar. (A quick side note regarding nutrition labels: the first thing to check on any nutrition label is serving size. As you can see in the above picture, the cookie spread serving size is 2 tablespoons, which is twice the serving size of the 1 tablespoon serving size for honey and jam. That means that tablespoon for tablespoon, which is about all you need to make the power bar sandwich, fig butter has 45 calories, honey has 60 calories and cookie spread has 85 calories.)

Finally, here are the ingredients needed to make the chocolate chips:

The point here is that there are actually a lot of unseen/unnoticed ingredients that go into complex ingredients, like the bread and spreads, needed to make the power bar sandwich just as there are many ingredients that go into making any recipe that calls for prepared ingredients like canned or jarred products, sauces and seasonings – or just about anything found in the center aisles of the the grocery store.

The key take away here is that it’s important to be curious about what exactly you are putting into any food you make, especially if you have dietary restrictions. Being curious then means actually looking at nutrition labels in the store and deciding what works best for you before actually buying that food. Yes, that takes a bit more time, but the payoff to you and those sharing what you make for them to eat is well worth that time.

How to Cook High Protein-High Fiber Pasta Picture Book and Video Directions

Picture book and video directions show how to cook fantastically versatile high protein-high fiber pasta

Just put out this 4 minute YouTube video showing how to cook high protein-high fiber pasta using a combination of black soy bean and edamame (young, green soybean) pasta.

Why high protein-high fiber pasta? First: flavor always rules here, and just like traditional wheat-based pasta, you can add flavor to it any way you like. I’ll show examples in future posts like what you see below: full-on flavorful high protein-high fiber pasta with fruit and mozzarella cheese.

High protein-high fiber pasta with fruit and mozzarella cheese

Second, but most importantly for your body, just about everybody could use more fiber and high quality protein in their diet. Click this link or the picture below for a quick take on fiber and what it does for us.

What is fiber and why do we need it in our diet?

You can also click this link or the picture below for How to Cook High Protein-High Fiber Pasta picture book directions.

How to Cook High Protein-High Fiber Pasta picture book directions
Designed by Free Wordpress Themes and Sponsored by Curry and Spice